HSS Podcast - Ultimate Guide to Choosing the Perfect Room for Your Studio
HSS Staff
Hello, music enthusiasts and studio dreamers!
Are you ready to turn your creative vision into reality? Whether you’re an aspiring producer, a seasoned musician, or an audio engineer, the first step in creating your dream studio starts with choosing the perfect room. It’s an exhilarating journey, but we know it can also feel overwhelming. Don’t worry—we’ve got you covered!
In this ultimate guide, we’ll take you through every essential aspect of selecting the ideal space for your studio setup. We’ll help you understand your studio needs, navigate room acoustics and soundproofing, and determine the best size and shape for your space. Plus, we’ll dive into crucial elements like ventilation, climate control, lighting, and aesthetics. To top it all off, we’ll provide expert advice on budgeting and planning, ensuring your studio transformation is smooth and stress-free.
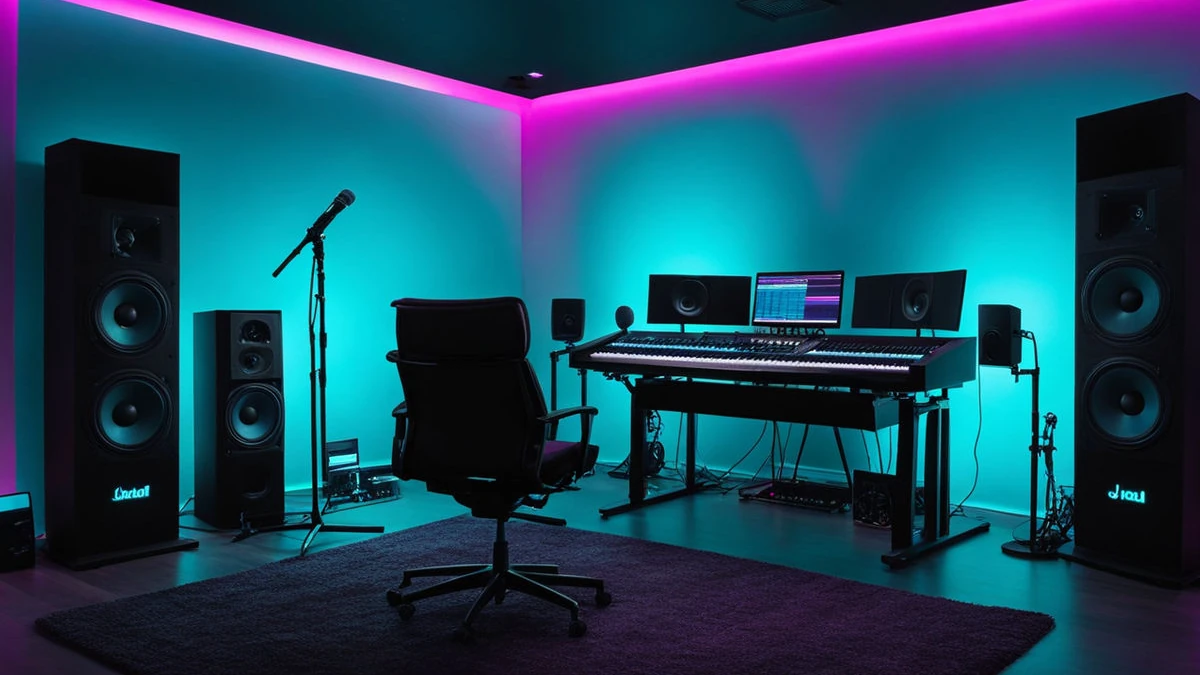
Imagine a workspace where creativity flows effortlessly, sound quality is pristine, and every detail reflects your unique style. Whether you’re transforming a spare bedroom or designing a professional studio, this guide is your roadmap to success. Let’s embark on this exciting adventure together, and turn your studio dreams into a harmonious reality!
Ready to create a space where your music can truly shine? Let’s get started!
Understanding Your Studio Needs
Identifying Goals and Requirements
Choosing the perfect room for your studio setup begins with a clear understanding of your goals and requirements. The first step is to define the primary purpose of your studio. Are you planning to focus on recording, mixing, producing, or a combination of these activities? Knowing your studio’s main function will guide your decisions about space and equipment.
Start by making a detailed list of your equipment needs. This includes computers, monitors, microphones, instruments, and any other hardware or software essential for your work. Consider the space each piece of equipment will require and how it will fit into your ideal workflow. Additionally, think about the number of people who will be using the studio at any given time. If you frequently collaborate with other musicians or technicians, you’ll need more space than if you work solo.
Budget is another critical factor that influences your room choice. Outline your budget and prioritize what is essential for your setup. It’s important to allocate funds wisely, ensuring that you cover all necessary aspects, from room rental or purchase to acoustic treatments and furnishings. Remember to factor in potential future upgrades. A room that fits your needs today might become inadequate as your studio grows. Planning for expansion now can save you from the hassle of relocating later.
Evaluating Your Equipment
Once you have a clear understanding of your goals and requirements, the next step is to evaluate your equipment in detail. Create an inventory of all the gear you currently own and list the items you plan to acquire in the future. This inventory should include computers, audio interfaces, studio monitors, microphones, instruments, MIDI controllers, and any other tools you use regularly.
Consider the physical dimensions of each piece of equipment. For instance, large studio monitors require sturdy stands or a spacious desk. Microphones need stands and possibly isolation shields. Instruments, especially larger ones like pianos or drum kits, will need significant floor space. Ensure that the room you choose can comfortably accommodate all your equipment without crowding. Crowded spaces can hinder movement and negatively impact workflow.
Lastly, think about cable management. Studios can quickly become cluttered with cables, which not only looks untidy but can also be hazardous. Plan for sufficient space to manage and organize cables efficiently. This might involve using cable trays, clips, or under-desk cable management solutions.
By thoroughly understanding your studio needs and evaluating your equipment, you lay a solid foundation for choosing the perfect room. This preparation ensures that the room you select will enhance your productivity and creativity, allowing you to focus on what matters most – making great music.
Room Acoustics and Soundproofing
Assessing Acoustic Properties
The acoustic properties of your studio room are crucial for achieving high-quality sound. When assessing a room’s acoustics, consider factors such as echo, reverb, and the room’s natural sound characteristics. Rooms with hard, reflective surfaces like bare walls and floors can create unwanted echoes and reverb, distorting the clarity of your recordings and mixes. Conversely, rooms with too many soft surfaces can result in a dead sound, lacking the natural reflections needed for a balanced audio experience.
To evaluate a room’s acoustics, perform a simple clap test: clap your hands and listen to how the sound decays. If you hear a long, pronounced echo, the room will need significant acoustic treatment. Rooms with a short, controlled echo are generally better suited for studio use. Ideally, you want a balance between absorption and reflection to create a neutral listening environment.
Implementing Acoustic Treatments
Effective acoustic treatment involves strategically placing absorptive and diffusive materials to manage sound reflections. Acoustic panels, bass traps, and diffusers are essential tools for shaping a room’s acoustics. Acoustic panels absorb mid to high-frequency sounds, reducing reflections and flutter echoes. Place these panels at primary reflection points, such as walls adjacent to and behind your listening position, and on the ceiling above.
Bass traps are designed to absorb low-frequency sounds that tend to build up in corners. Installing bass traps in the corners of your room helps to control bass frequencies, creating a more accurate listening environment. Diffusers scatter sound waves, preventing them from bouncing back directly. This scattering effect creates a sense of space and depth, making the room sound more natural. Diffusers are particularly useful on the rear wall behind your listening position.
Soundproofing Techniques
Soundproofing is essential to isolate your studio from external noise and prevent your music from disturbing others. Effective soundproofing requires creating barriers that block sound transmission. One of the simplest methods is to use heavy, dense materials like mass-loaded vinyl or drywall. Adding additional layers of drywall with damping compounds between them can significantly reduce sound leakage.
Double-glazed windows and solid-core doors also improve sound isolation. If your room has standard windows and hollow-core doors, consider upgrading them to reduce noise intrusion. Door seals and weatherstripping can further enhance soundproofing by closing gaps where sound can escape or enter.
Another soundproofing technique is creating a room-within-a-room. This involves building an isolated structure inside your existing room, complete with its own walls, floor, and ceiling. This decoupling method is highly effective but can be costly and space-consuming.
By thoroughly assessing and treating your room’s acoustics and implementing soundproofing techniques, you create an environment that enhances audio quality and productivity. These steps ensure your studio provides a professional, distraction-free space for recording and mixing music.
Size and Shape of the Room
Choosing the Right Room Size
Selecting the appropriate room size is pivotal for a successful studio setup. The room’s dimensions influence not only sound quality but also comfort and workflow. Larger rooms generally offer better acoustic qualities, as they reduce the likelihood of standing waves and excessive reflections. However, they may require more extensive acoustic treatment to manage sound effectively. If your budget allows, opt for a medium to large room to ensure ample space for equipment, movement, and additional treatments.
Smaller rooms can be more budget-friendly and easier to maintain. However, they present unique acoustic challenges. In a small room, sound waves bounce off walls more quickly, creating potential issues with echo and reverb. To mitigate these problems, invest in high-quality acoustic treatments tailored to your room’s specific dimensions. Pay special attention to bass management, as low frequencies can build up and cause muddiness in confined spaces.
Consider the future of your studio as well. If you anticipate expanding your equipment or collaborating with other musicians, a slightly larger room can accommodate growth without necessitating a move. Flexibility in space usage is a valuable asset in any studio environment.
Considering Room Shape
The shape of your room significantly impacts sound distribution and quality. Rectangular rooms are often the preferred choice for studio setups due to their predictable acoustic behavior. They allow for more effective placement of acoustic treatments and equipment, leading to a balanced sound environment. When setting up in a rectangular room, place your listening position along the shorter wall, facing the length of the room. This orientation helps in achieving a more accurate soundstage.
Square rooms, on the other hand, can be problematic due to the creation of standing waves, where certain frequencies reinforce or cancel each other out. These issues can lead to uneven bass response and muddied sound. If you must use a square room, be prepared for extensive acoustic treatment to manage these challenges effectively.
Rooms with irregular shapes or angled walls can be advantageous, as they help in diffusing sound waves and reducing standing wave problems. However, these rooms require careful planning for acoustic treatments and equipment placement. Angled ceilings and walls can contribute positively to the room’s acoustic properties by scattering sound reflections, creating a more natural and balanced sound environment.
In any room shape, avoid placing your listening position too close to walls, as this can result in bass buildup and comb filtering effects. Aim for a position that allows sound to travel and dissipate naturally.
By carefully considering the size and shape of your room, you can create a studio environment that supports accurate sound reproduction and a comfortable, productive workflow. This foundation is crucial for achieving professional-quality recordings and mixes.
Ventilation and Climate Control

Ensuring Proper Ventilation
Good ventilation is crucial for a comfortable and efficient studio environment. Adequate airflow prevents overheating of both equipment and occupants, ensuring a consistent working condition. Poor ventilation can lead to stuffiness, which negatively impacts concentration and productivity. It’s essential to have a ventilation system that circulates fresh air without introducing external noise.
Start by evaluating your room’s existing ventilation. Central air conditioning systems can provide even airflow, but ensure they do not produce excessive noise. If your ventilation system is noisy, consider soundproofing solutions like duct silencers or acoustic insulation around vents. Another effective solution is to install a dedicated HVAC (Heating, Ventilation, and Air Conditioning) system designed for studio use, which operates quietly while maintaining air quality.
If you’re working with a room that lacks built-in ventilation, portable air purifiers and fans can help, but they are not a substitute for a well-designed HVAC system. Make sure to choose devices with a low noise rating to avoid interference with recordings.
Maintaining Optimal Temperature
Maintaining a stable temperature is essential for both the comfort of those using the studio and the longevity of your equipment. Electronic devices, particularly high-performance computers, audio interfaces, and monitors, generate significant heat. Excessive heat can cause equipment to malfunction or degrade over time, leading to costly repairs or replacements.
Aim to keep your studio at a consistent temperature, ideally between 68°F (20°C) and 75°F (24°C). This range is optimal for both human comfort and equipment performance. Sudden temperature fluctuations can cause condensation, which might damage sensitive electronics.
A reliable HVAC system helps regulate the temperature effectively. Consider using smart thermostats that allow precise control over the studio’s climate. These systems can be programmed to maintain a constant temperature, adjusting automatically to external weather changes.
Additionally, it’s essential to position equipment in a way that promotes good airflow. Avoid clustering heat-generating devices in one area, and ensure there’s adequate space around them for air circulation. Using cooling racks or stands can also help dissipate heat more efficiently.
Regular maintenance of your HVAC system is critical. Change filters regularly to ensure clean air circulation and have the system serviced periodically to maintain its efficiency and quiet operation.
By ensuring proper ventilation and maintaining optimal temperature, you create a comfortable, productive, and safe studio environment. These measures not only enhance your work experience but also extend the life of your valuable equipment, ensuring that your studio remains a reliable space for creativity and production.
Lighting and Aesthetics

Choosing Appropriate Lighting
Lighting plays a crucial role in creating an effective and pleasant studio environment. Proper lighting enhances productivity, reduces eye strain, and sets the mood for creative work. Ideally, a combination of natural and artificial lighting should be used to achieve a well-lit space.
Natural light is the best source as it promotes a positive mood and reduces fatigue. Position your workspace near windows to maximize daylight. However, natural light should be controllable to prevent glare on screens or direct sunlight on sensitive equipment. Use blackout curtains or blinds to manage the amount of natural light entering the room.
For artificial lighting, opt for adjustable LED lights that provide consistent and flicker-free illumination. LED lights are energy-efficient and produce less heat, which is beneficial in a studio setting. Use a mix of overhead lighting and task lighting to ensure even coverage. Overhead lights provide general illumination, while task lights, like desk lamps, offer focused lighting for specific activities.
Enhancing Room Aesthetics
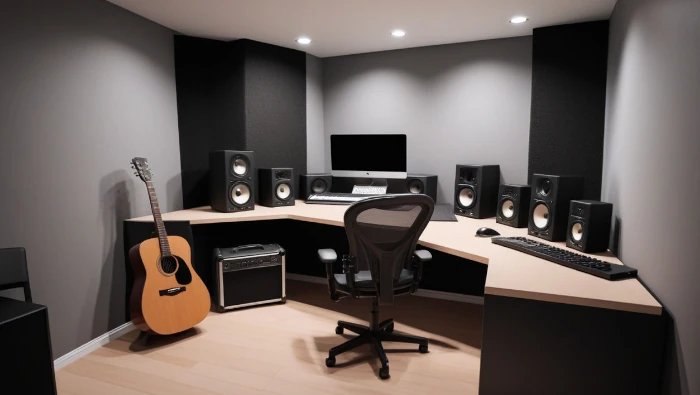
Aesthetics play a significant role in fostering a creative and comfortable studio environment. A visually appealing space can inspire creativity and make long working hours more enjoyable. Start by selecting a color scheme that reflects your personal style and promotes a calm and focused atmosphere. Neutral colors like whites, grays, and soft blues are popular choices for studios as they create a clean and professional look.
Personalize your space with artwork, posters, or photographs that inspire you. These elements can add character and make the studio feel uniquely yours. Be mindful of placement, ensuring that decorations do not interfere with acoustic treatments or equipment functionality.
Incorporate plants into your studio setup. Plants not only enhance aesthetics but also improve air quality and create a more inviting atmosphere. Choose low-maintenance varieties like succulents or snake plants, which thrive in indoor environments with minimal care.
Comfort is another key aspect of studio aesthetics. Invest in ergonomic furniture that supports good posture and reduces fatigue. A comfortable chair and a desk at the right height can significantly impact your productivity and overall well-being.
Finally, keep your studio organized and clutter-free. Use cable management solutions, shelves, and storage units to keep equipment and supplies neatly arranged. A tidy workspace reduces distractions and allows you to focus on your creative tasks.
By thoughtfully choosing your lighting and enhancing your room’s aesthetics, you create a studio environment that is both functional and inspiring. This balanced approach ensures that your studio is a place where creativity can flourish, and productivity can thrive.
Budgeting and Planning
Setting a Realistic Budget
Establishing a realistic budget is a crucial step in creating your perfect studio setup. Start by outlining all potential costs associated with your studio, including room rental or purchase, acoustic treatments, soundproofing materials, furniture, lighting, and equipment. Remember to account for smaller expenses such as cables, mounts, and software. It’s essential to prioritize your spending based on immediate needs versus long-term goals.
Begin with a comprehensive list of necessary items and their estimated costs. Research prices from multiple sources to get the best deals. Consider buying used or refurbished equipment to save money without compromising quality. Allocate funds for each category, ensuring that critical aspects like soundproofing and acoustics are well-covered. Avoid overspending on aesthetic elements until functional requirements are met.
Include a contingency fund for unexpected expenses. Renovations or unforeseen technical issues can quickly inflate your budget, so it’s wise to set aside 10-15% of your total budget for such scenarios. This buffer will prevent financial strain and allow for smoother project execution.
Creating a Step-by-Step Plan
A clear, step-by-step plan is essential for an efficient and organized studio setup. Start by outlining each phase of your project, from initial planning to final installation. Break down tasks into manageable steps and establish a timeline to track progress.
- Initial Assessment and Planning: Evaluate your chosen room’s current state and identify necessary modifications. Create a detailed plan based on your goals, requirements, and budget.
- Room Preparation: Begin with soundproofing and acoustic treatments. These foundational elements are critical for achieving high-quality sound. Install acoustic panels, bass traps, and diffusers as needed.
- Electrical and Climate Control: Ensure your room has adequate power outlets and proper ventilation. Install or upgrade your HVAC system to maintain a stable and comfortable environment.
- Furniture and Layout: Arrange your workspace ergonomically, placing your desk, chair, and equipment in optimal positions. Prioritize comfort and functionality.
- Lighting Installation: Set up both natural and artificial lighting. Ensure controllable light sources to adapt to different working conditions.
- Equipment Setup: Install and configure your audio equipment, ensuring proper cable management and organization. Test all devices to confirm they are working correctly.
- Aesthetic Enhancements: Add personal touches such as artwork, plants, and decorative elements. These should enhance the room’s appeal without cluttering the space.
Regularly review and adjust your plan as necessary. Stay flexible to accommodate any changes or improvements that arise during the setup process. By setting a realistic budget and creating a detailed plan, you ensure a smooth transition from an empty room to a fully functional and inspiring studio environment. This structured approach not only saves time and money but also helps you achieve a professional setup tailored to your unique needs.