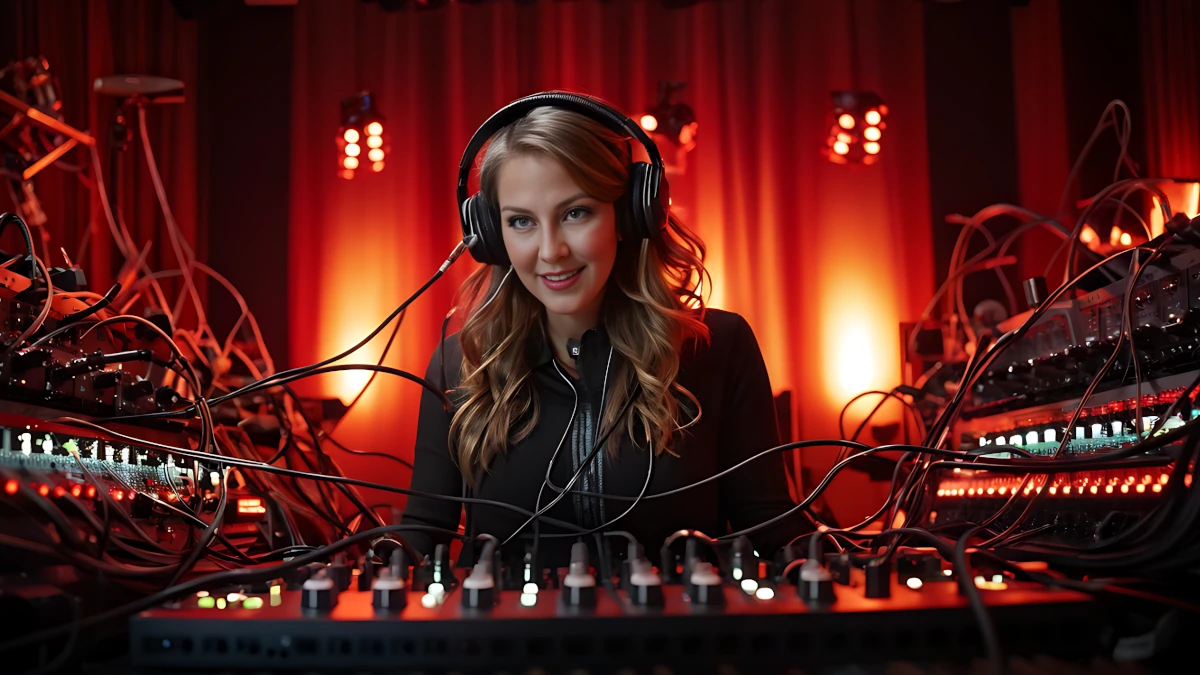
When diving into home recording, selecting the right cables is crucial. These seemingly simple components play a vital role in the quality of your recordings. High-quality cables ensure clear sound transmission and minimal interference, making your studio setup efficient and professional.
Every piece of equipment in your studio relies on cables to transmit audio signals. From microphones to instruments, and from digital interfaces to monitors, the correct cables can prevent signal loss, reduce noise, and enhance overall sound quality. Understanding the different types of cables and their specific uses will help you make informed decisions, ensuring a seamless and productive recording experience.
Whether you’re a beginner setting up your first studio or an experienced musician upgrading your setup, knowing which cables to invest in is essential. In the following sections, we’ll explore the various types of cables you’ll need, their uses, and tips on choosing the best options for your home studio.
For those just starting, consider this comprehensive guide on building your home studio, which provides a detailed overview of essential equipment and setup tips.
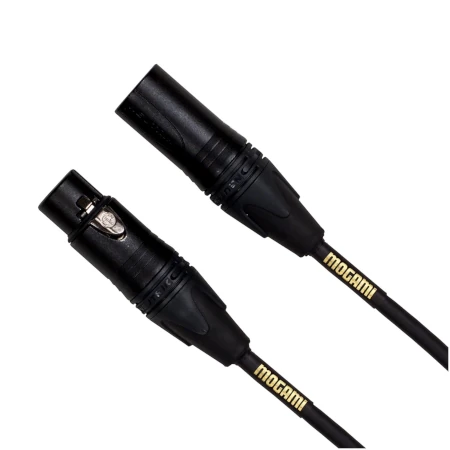
2. XLR Cables: The Backbone of Studio Connections
✅ Check Price on Amazon
As an Amazon Associate I earn from qualifying purchases.
XLR cables are indispensable in any recording studio. These balanced cables are primarily used for connecting microphones to audio interfaces and mixers. Known for their durability and reliability, XLR cables are designed to carry high-quality audio signals over long distances without picking up noise or interference.
The three-pin configuration of XLR cables helps in reducing noise and ensures high-fidelity audio capture. The balanced nature of these cables means that they have two signal wires and a ground wire, which work together to cancel out any electromagnetic interference. This makes XLR cables perfect for professional audio environments where clean, clear sound is paramount.
When setting up your home studio, investing in high-quality XLR cables is a must. Cheaper cables might save you money initially, but they can introduce noise and degrade the quality of your recordings over time. Look for cables with robust connectors and thick shielding to ensure longevity and optimal performance.
For an in-depth look at choosing the best microphones and understanding how XLR cables enhance their performance, check out this guide on top microphones for recording vocals at home. This resource provides valuable insights into pairing your microphones with the right cables for the best results.
In summary, XLR cables form the backbone of studio connections. Their ability to deliver high-quality audio without interference makes them an essential component of any home recording setup. Ensure you have a few reliable XLR cables to connect your microphones and other audio gear, and you’ll be well on your way to capturing pristine sound in your home studio.
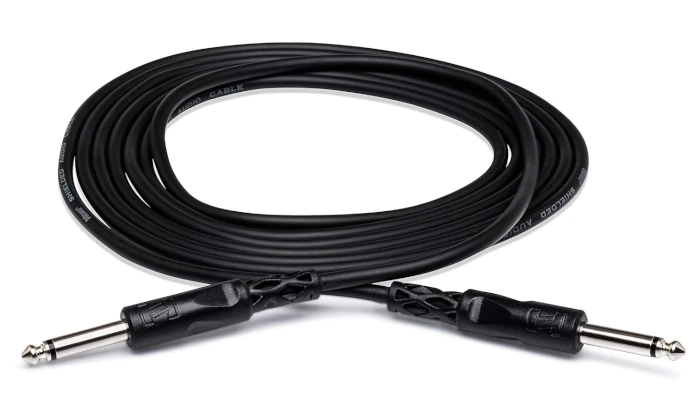
3. Instrument Cables: Connecting Your Gear

✅ Check Price on Amazon
As an Amazon Associate I earn from qualifying purchases.
Instrument cables are vital for connecting your electric guitars, basses, keyboards, and other instruments to amplifiers, audio interfaces, and other recording equipment. Typically featuring 1/4-inch TS (Tip-Sleeve) connectors, these unbalanced cables are designed to carry audio signals over short distances.
One of the key considerations when selecting instrument cables is the quality of shielding. Good shielding helps to prevent unwanted noise and interference, ensuring that your instrument’s true sound is captured accurately. Look for cables with high-density shielding and sturdy connectors to avoid signal degradation and maintain clarity.
Cable length is another important factor. While longer cables provide more flexibility in your studio setup, they can also introduce more noise and signal loss. For the best performance, use the shortest length necessary for your needs. This helps to maintain signal integrity and reduce the potential for interference.
When shopping for instrument cables, you’ll find a variety of options with different levels of durability and flexibility. High-quality cables often feature reinforced connectors and flexible yet tough outer jackets, making them resistant to wear and tear. Investing in durable cables can save you from frequent replacements and ensure consistent performance over time.
For more detailed information on choosing the right instrument cables and other gear for your home studio, consider reading this article on home studio equipment. It provides useful tips on selecting equipment that offers the best value for your budget.
In conclusion, instrument cables are essential for connecting your musical gear to the rest of your recording setup. By selecting high-quality, well-shielded cables of appropriate length, you can ensure that your instrument’s sound is transmitted clearly and accurately, contributing to professional-grade recordings in your home studio.
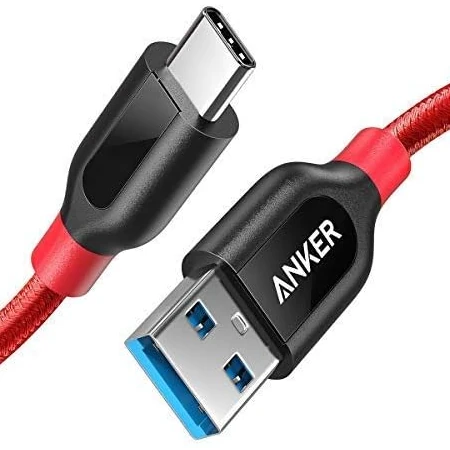
4. USB Cables: Bridging Digital Connections
✅ Check Price on Amazon
As an Amazon Associate I earn from qualifying purchases.
USB cables have become a staple in modern home studios, serving as the bridge between digital equipment and your computer. These versatile cables connect audio interfaces, MIDI controllers, digital mixers, and other peripherals, ensuring seamless communication and data transfer.
High-speed USB cables are crucial for efficient recording sessions. They offer low latency, which is essential when tracking and monitoring audio in real-time. USB 2.0 cables are common and sufficient for most audio tasks, but USB 3.0 and USB-C cables provide faster data transfer rates, making them ideal for high-resolution audio and complex setups.
Different types of USB connectors cater to various devices. USB-A connectors are standard for computers, while USB-B connectors are typically found on audio interfaces and MIDI devices. The newer USB-C connectors are increasingly popular due to their reversible design and higher transfer speeds, making them future-proof choices for your studio.
Types of USB Cables for Your Studio
When choosing USB cables, consider the quality and length. High-quality cables with gold-plated connectors and robust shielding minimize data loss and interference, ensuring stable connections. As with other cables, shorter lengths are generally better to reduce potential latency and signal degradation.
USB hubs can be useful for expanding your computer’s connectivity options. A powered USB hub can support multiple devices without compromising performance, which is particularly handy if your setup includes numerous USB peripherals. This ensures that all your equipment remains connected and operational without overloading your computer’s USB ports.
To delve deeper into the benefits and uses of USB cables in a home studio, explore this article on USB guitar cables. It provides insights into selecting the right cables for optimal performance.
In summary, USB cables are the backbone of digital connections in a home recording studio. Selecting the appropriate types and ensuring high-quality construction will facilitate smooth data transfer, low latency, and reliable performance, making your recording process more efficient and enjoyable.
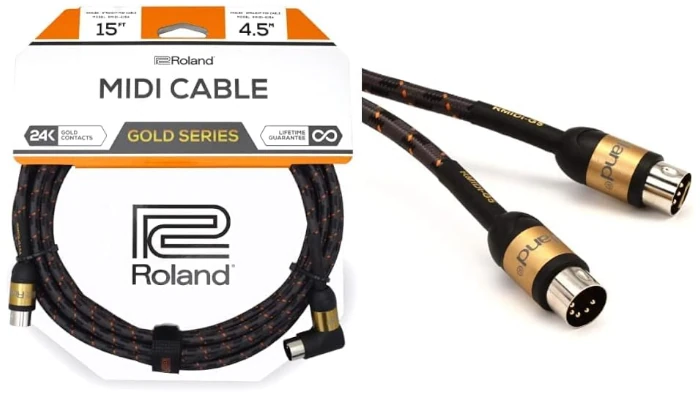
5. MIDI Cables: Synchronizing Your Setup
✅ Check Price on Amazon
As an Amazon Associate I earn from qualifying purchases.
MIDI cables are essential for connecting musical instruments, controllers, and other devices in your home studio. These cables transmit MIDI data, which includes performance information such as note on/off messages, velocity, and control changes. This allows you to control virtual instruments, software synthesizers, and other MIDI-compatible equipment seamlessly.
Understanding the role of MIDI cables can enhance your studio’s efficiency. Unlike audio cables, MIDI cables do not carry sound; instead, they carry data that instructs devices on how to produce or manipulate sound. This makes them invaluable for integrating hardware and software components, enabling synchronized playback and recording.
When setting up your studio, ensure you have enough MIDI cables to connect all your devices. Standard MIDI cables feature a 5-pin DIN connector and are typically available in various lengths. For most setups, shorter cables reduce latency and potential signal degradation, while longer cables offer more flexibility in arranging your gear.
Benefits of Using MIDI Cables
Quality is a critical factor when choosing MIDI cables. Look for cables with sturdy connectors and durable shielding to prevent interference. High-quality cables ensure reliable data transmission, which is crucial for maintaining precise timing and control during recording and playback sessions.
For those using modern equipment, MIDI over USB is another option. USB-MIDI cables simplify connections by combining MIDI data transmission with the USB interface, reducing the number of cables needed. These are particularly useful for connecting MIDI controllers directly to your computer without requiring a separate MIDI interface.
To gain a deeper understanding of MIDI cables and their importance in a home studio, explore this guide on USB MIDI cables for home studios. This resource offers insights into selecting the right cables and maximizing their potential in your setup.
In conclusion, MIDI cables play a pivotal role in synchronizing your home studio setup. By ensuring you have high-quality, appropriately-length cables, you can achieve precise control and seamless integration of your MIDI-compatible equipment, enhancing your recording and production capabilities.
6. Patch Cables: Organizing Your Workflow
✅ Check Price on Amazon
As an Amazon Associate I earn from qualifying purchases.
Patch cables are short cables used for routing audio signals between different pieces of equipment within your home studio. They are essential for connecting various devices such as effects pedals, modular synthesizers, and patch bays, making them crucial for a flexible and efficient studio setup.
The primary function of patch cables is to facilitate signal routing and organization. By using patch cables, you can easily reconfigure your setup without the need for long, cumbersome cables. This helps keep your workspace tidy and prevents the tangling and clutter that can impede your workflow.
When selecting patch cables, consider the quality of the connectors and the cable itself. Look for cables with robust, gold-plated connectors and durable, flexible shielding. This ensures that the cables can withstand frequent plugging and unplugging, which is common in a dynamic studio environment. High-quality patch cables also minimize noise and signal degradation, maintaining the integrity of your audio signals.
Choosing the Right Patch Cables for Your Studio
Patch cables come in various lengths and connector types, including 1/4-inch TS, 1/8-inch TS, and RCA connectors. Choose lengths that suit your setup, keeping cables as short as possible to reduce potential noise and signal loss. Color-coded cables can also help you easily identify connections, enhancing your studio organization.
For modular synth enthusiasts, patch cables are indispensable. They allow you to create custom signal paths and experiment with different sound combinations. By using patch cables, you can explore new sonic territories and develop unique soundscapes, adding creativity and versatility to your music production.
To delve deeper into organizing your home studio and optimizing your workflow, check out this article on home studio acoustic insulation. It provides tips on improving your studio environment, which complements the use of patch cables for a streamlined setup.
In summary, patch cables are vital for organizing your home studio workflow. By investing in high-quality, appropriately-length cables and using them to create efficient signal paths, you can enhance your studio’s functionality and maintain a clutter-free workspace, ultimately boosting your productivity and creativity.
Conclusion: Building Your Perfect Home Studio
Creating a perfect home studio requires careful planning and the right equipment, with cables playing a pivotal role in ensuring high-quality audio transmission and a seamless workflow. From XLR cables for microphones to USB and MIDI cables for digital connections, each type of cable has its unique function and importance.
Understanding the roles and specifications of different cables helps you make informed decisions, ensuring you invest in high-quality options that enhance your recording setup. High-quality XLR cables reduce noise and ensure clear audio capture, essential for professional-grade recordings. Instrument cables connect your musical gear, maintaining the integrity of your instrument’s sound. USB cables bridge your digital equipment, providing low latency and efficient data transfer, while MIDI cables synchronize your devices, allowing for precise control and integration.
Patch cables, on the other hand, help organize your workflow, making your setup more flexible and manageable. By keeping your studio tidy and ensuring reliable signal routing, patch cables contribute significantly to a productive recording environment.
As you build your home studio, remember that investing in high-quality cables is just as crucial as selecting the right microphones, instruments, and digital interfaces. For a comprehensive guide to setting up your studio, including tips on acoustic treatment and essential gear, check out this guide on building your home studio.
In conclusion, the right cables are the backbone of an efficient and professional home recording studio. By understanding their roles and investing in quality options, you can ensure a seamless and high-quality recording experience, bringing your musical visions to life with clarity and precision.

Rodrigo Marques
Rodrigo Marques, founder of Home Studio Start, is a music production veteran with over 25 years of experience. Since 1997, he has mastered tools like Sound Forge, Samplitude Pro, and VST plugins, producing albums for emerging artists globally. Creator of the innovative Formula HSS for mixing and mastering, Rodrigo has empowered thousands through online courses and his ebook, Home Studio Start. Dedicated to democratizing music production, he equips aspiring artists with skills for professional-grade music and sustainable careers, aligning with UN SDG 8.
About the author